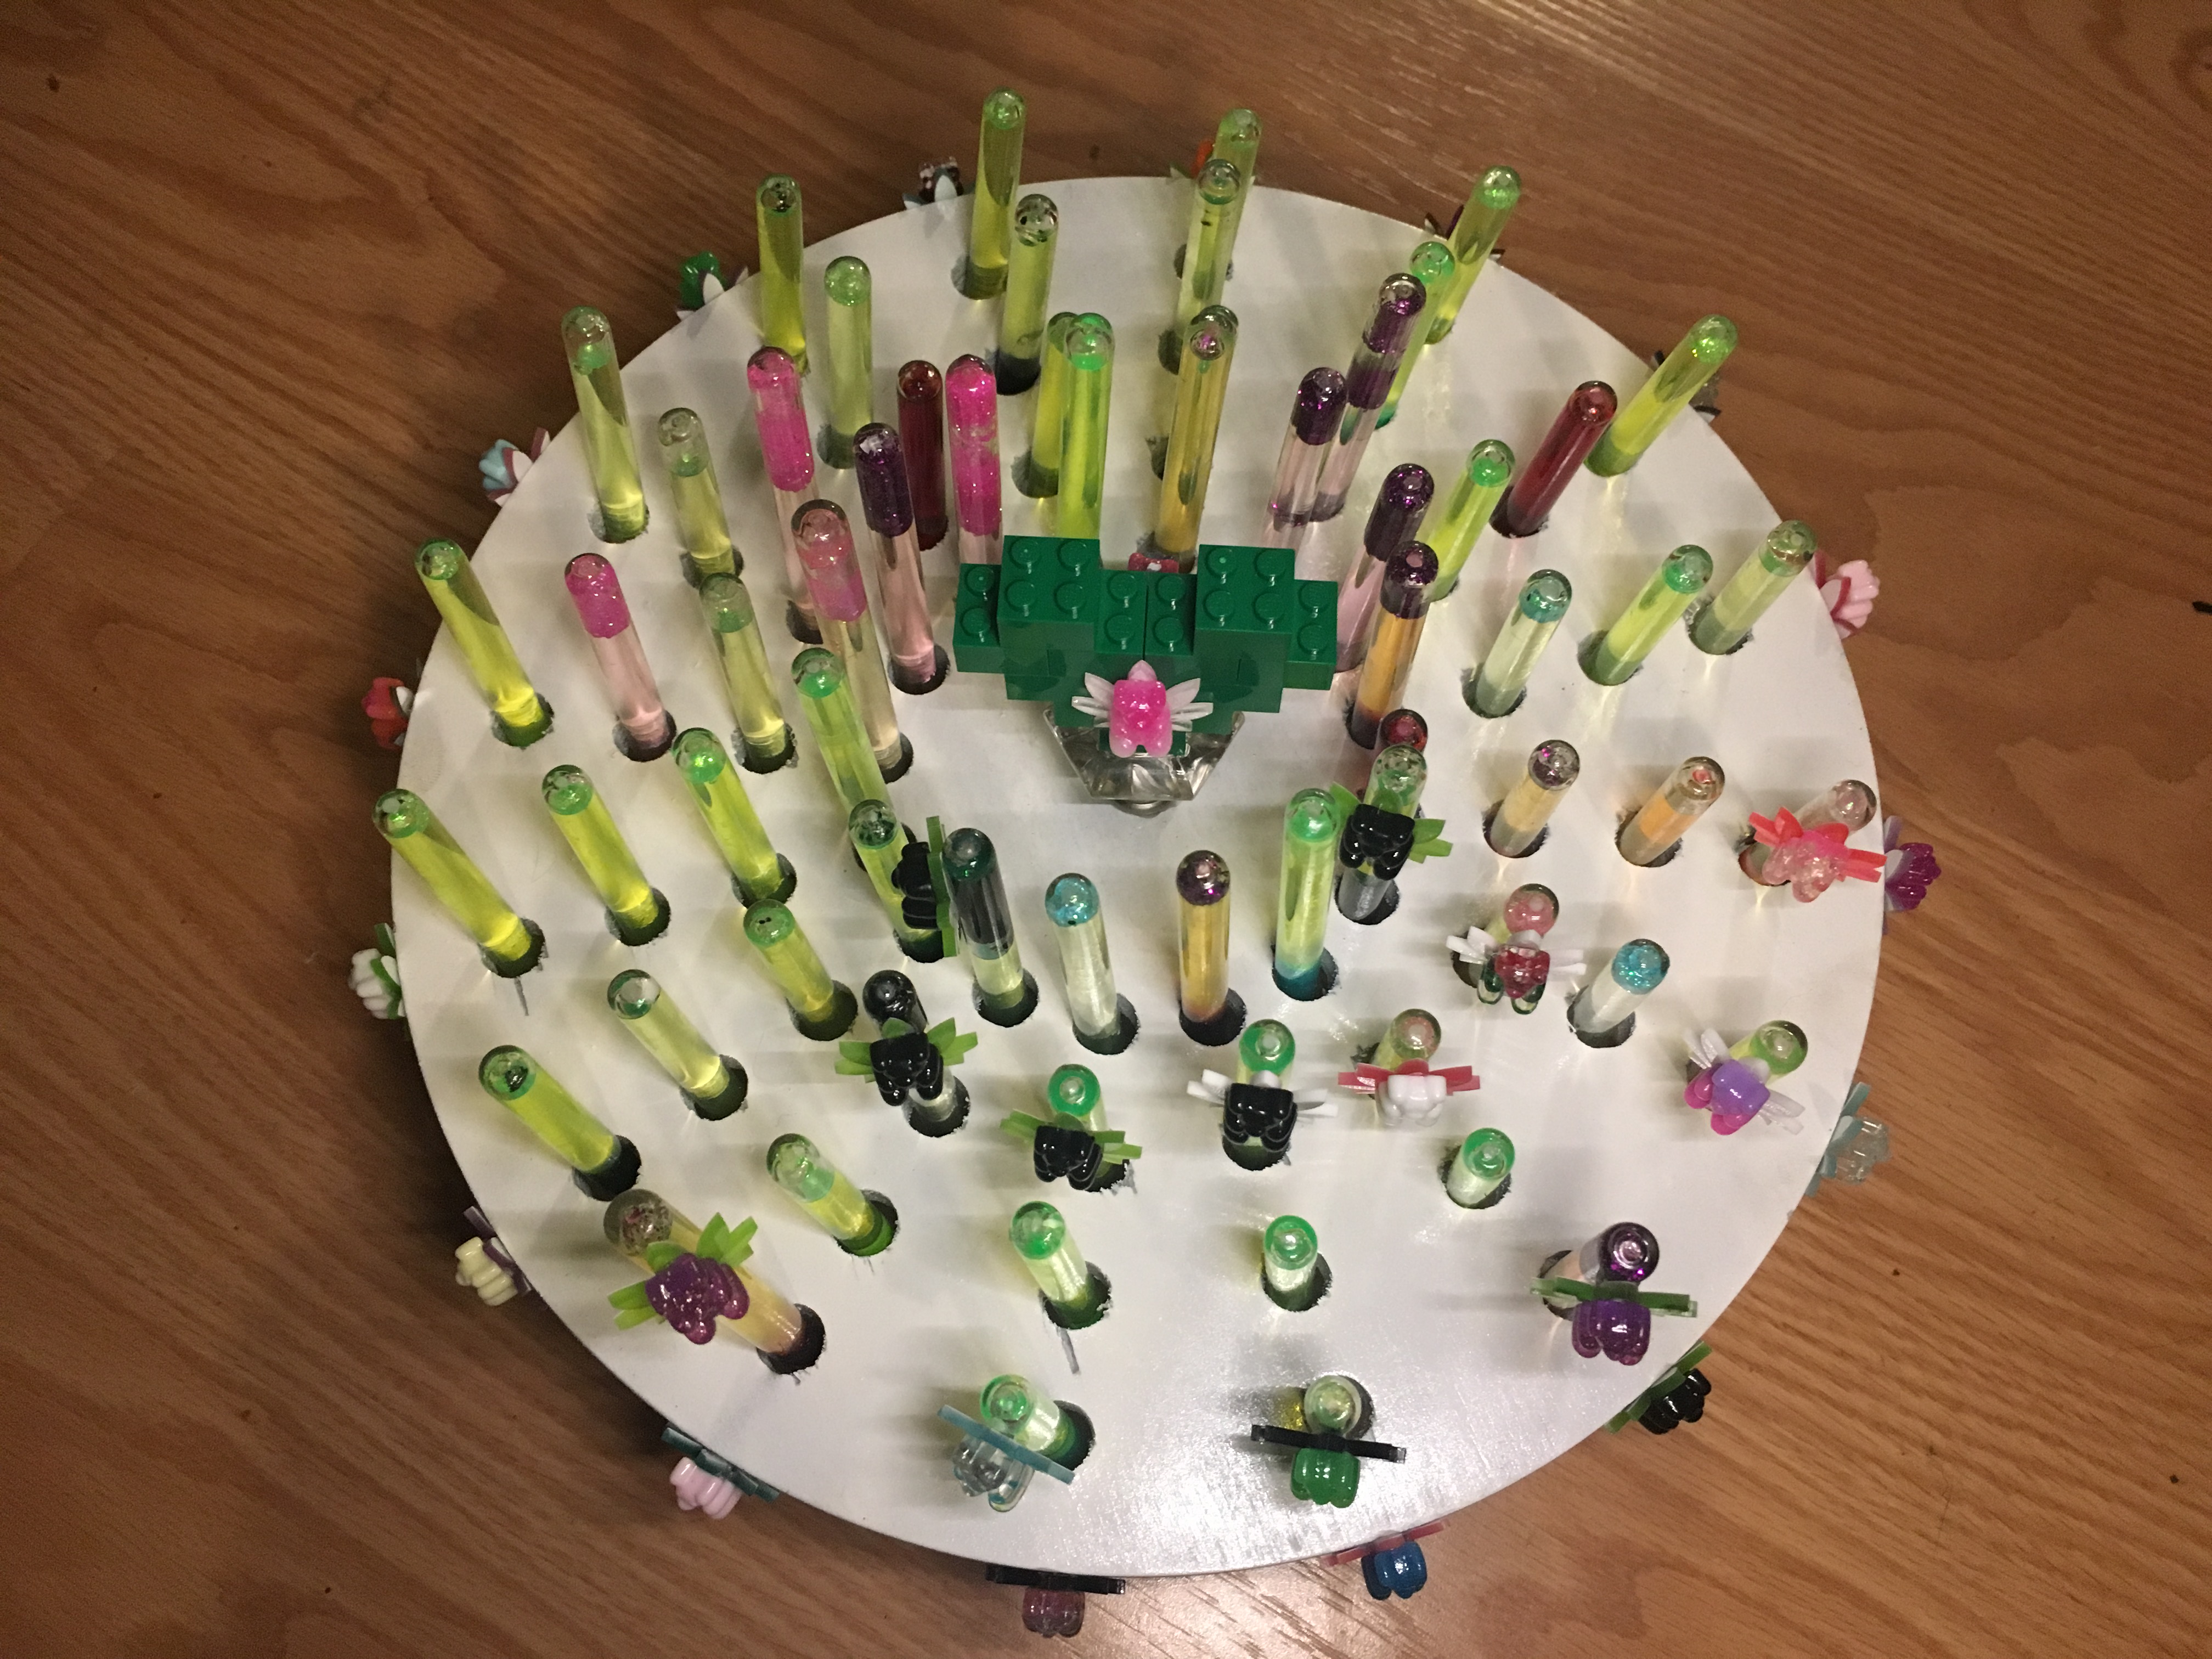
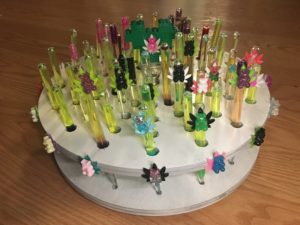
DIY Spinning Dabber Rack
Time: 5 hours
—— Equipment & Lowes Shopping List ——
(2) 12″ Circle Wood Boards – 1/2″ Thick
(1) Small Lazy Susan Spinner Kit + Mount
(1) Rustoleum White Gloss Spray Paint Can
(1) Drill Press
(1) 1/2″ Drill Bit
(1) 1/4″ Drill Bit
(1) 1/16″ Drill Bit
(1) Hand Drill
(1) Dowel Rod 1 3/8″ Diameter – use 2″ long piece
(1) Roll Painters Tape
(2) Screws
(1) Drawer Knob Pull (crystal piece with lego heart on top of it)
Remember, Proper Planning Prevents Piss Poor Performance.
—— Set Up & Process ——
Using the painters tape, tape together the two circle pieces of wood. This will make it easy to plan out, line up and draw out your circles/holes for the dabbers. It will also allow you to easily see how far down the drill bit will go into the second piece of wood to create the divots for the tips of the dabbers to rest in.
Sketch out the location and number of holes you would like in your set up. We had over 64 dabber holes in ours. If you’re using smaller or lager pieces of wood, adjust accordingly.
Set up your drill to the correct height so you do not drill completely through both pieces of wood. Make sure you only slightly drill into the second piece of wood to create the divots for the tips of the dabbers to rest in.
Drill the holes with the 1/4″ Drill Bit FIRST to create the smaller hold in the base to hold the tips of the dabbers.
THEN drill using the 1/2″ Drill Bit to create the larger hole for the body of the dabber to fit through and rest on.
Remove the tape.
Sand + Paint the wood plates and the 2″ piece of the 1 3/8″ dowel rod.
Drill pilot holes in both flat ends of the 2″ piece of dowel rod with the 1/16″ drill bit.
Connect the two circular pieces of wood using the 2″ of dowel rod and screws.
Install Lazy Susan hardware on the bottom of the bottom piece of wood.
Accessorize with drawer knob pull, gems and some of your other favorite goodies.